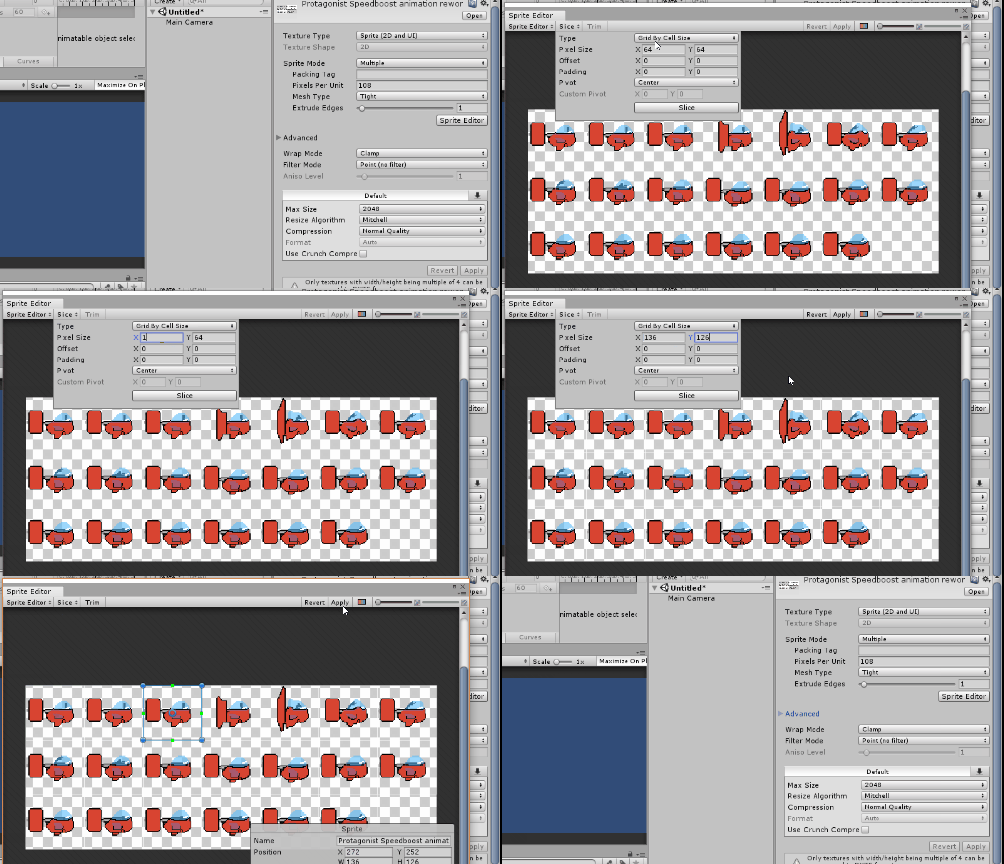
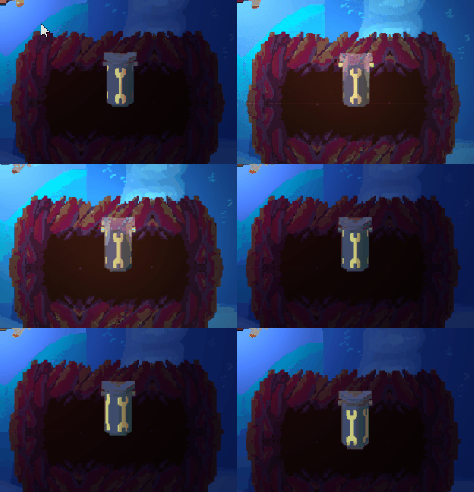
This week we were a little short on manpower since one of the members on the team is on vacation. My tasks were more focused on importing and implementing done assets into unity as well as doing animations using the animator, instead of making assets as I usually do. Thank goodness for Scrum am I right?
So here’s a workflow instructional guide on how to import sprites into unity.
The Basics
![]()
Drag and drop all your sprite sheets into the Unity folder of your choice. Try to have a logical sorting method, your programmer (and your future self) will love you for it. You see me dropping the sprite sheet of the protagonist into the “PowerUps” folder. This is a no-go

Select all the spritesheets and (if making pixelart)
Set the Pixels Per Unit to match your desired camera distance.
Set the Filter type to “Point (No filter)”
Set the image type to “multiple” instead of “single”. The filter and Pixels Per Unit options are required to have a nice pixelart look, while messing around more with the options is up to you. “Multiple” determines if you want to use the image as a spritesheet or not.
Open each spritesheet in the unity Sprite Editor
Slice them up using the dimensions provided by your artist, or divide the full image dimensions by the number of sprites per row or column. Hopefully your artist has made the spritesheet using reasonably divisible numbers. This process can be done even faster if the sprite sheets are using the same dimensions as each other, as the slicer remembers the last dimensions used. Small time-saves add up to a lot.
Drag the spritesheets into the scene of your choice and save the animations in your asset folder. Congratulations! You now have an animation in Unity!
Advanced
you can adjust the timing of each animation using the Animation panel (Window>Animation (ctrl+6)). You can see the Animation panel in the upper right in the above Gif. There you can adjust the framerate, as well as add events to specific frames. What this means is you can time certain events to the framerate of the animation, like spawning a projectile or turning on a light:

On this asset there is a point light which only activates on the frames where the lamps on the side are “lit”. You can use these “events” in the animation to do a lot of things, and is one of the strongest features of the Animation panel.
Each animation you create has a “Controller”. A controller is like a state machine You usually only need one per asset or entity, since you use it to control what states dictate a change in animation. If you have several for one object because you imported several sprite sheets for the same object, feel free to delete them.
All this has culminated in these assets finally being imported into unity. The fish is curtesy of Ellen Wetterholm.
Thanks for reading!
-Benjamin Thomas Harbakk


I found your post very informative. You clearly know what you are doing went it comes to sprites and Unity.
If I do have a problem though, it’s that your post comes across as very dry to me. It does not feel like there is any ‘you’ in here, if that’s makes sense. Without ‘you,’ this just looks like a “How to use the Animator in Unity,” and if I wanted to know about that, I would look elsewhere. Though to be fair, if your experience in development is anything like mine, you’ve been doing the same thing for a whole month (or at least it feels like it) and you’re running out of things to talk about. I was going to suggest maybe talking about that particular speed boost animation that I know was giving you trouble, but then I realized that everyone’s already been talking about animations and maybe you wanted to do something different. The well’s running dry, I get it.
Best of luck in development!
-Christopher Haibel
LikeLiked by 1 person